Wednesday, April 30, 2014

Quick n Healthy – Sandwich Recipe


Hi all, here is a recipe to make your appetite go away in no time.
Usually I prepare quick meal this way when I am back from office and really hungry.

 Time required: 5-7 minutes 
Ingredients: 4 bread slices, pasta sauce/ mayonnaise, cucumber, onion, tomato,Black Olives(optional)

Method: 
Put griddle on simmer heat.
Slice cucumber, onion, tomato (thin slices).

Apply some pasta sauce/mayonnaise onto one bread slice and spread slices of cucumber over it.
Place onion slices over it and then place tomato slices. Put some black olives in.
Place other bread slice over it.
Apply little oil and cook both sides.


Cut crispy sandwich and have some juice with it. 


Will be back with more recipes. :)

Saturday, April 19, 2014

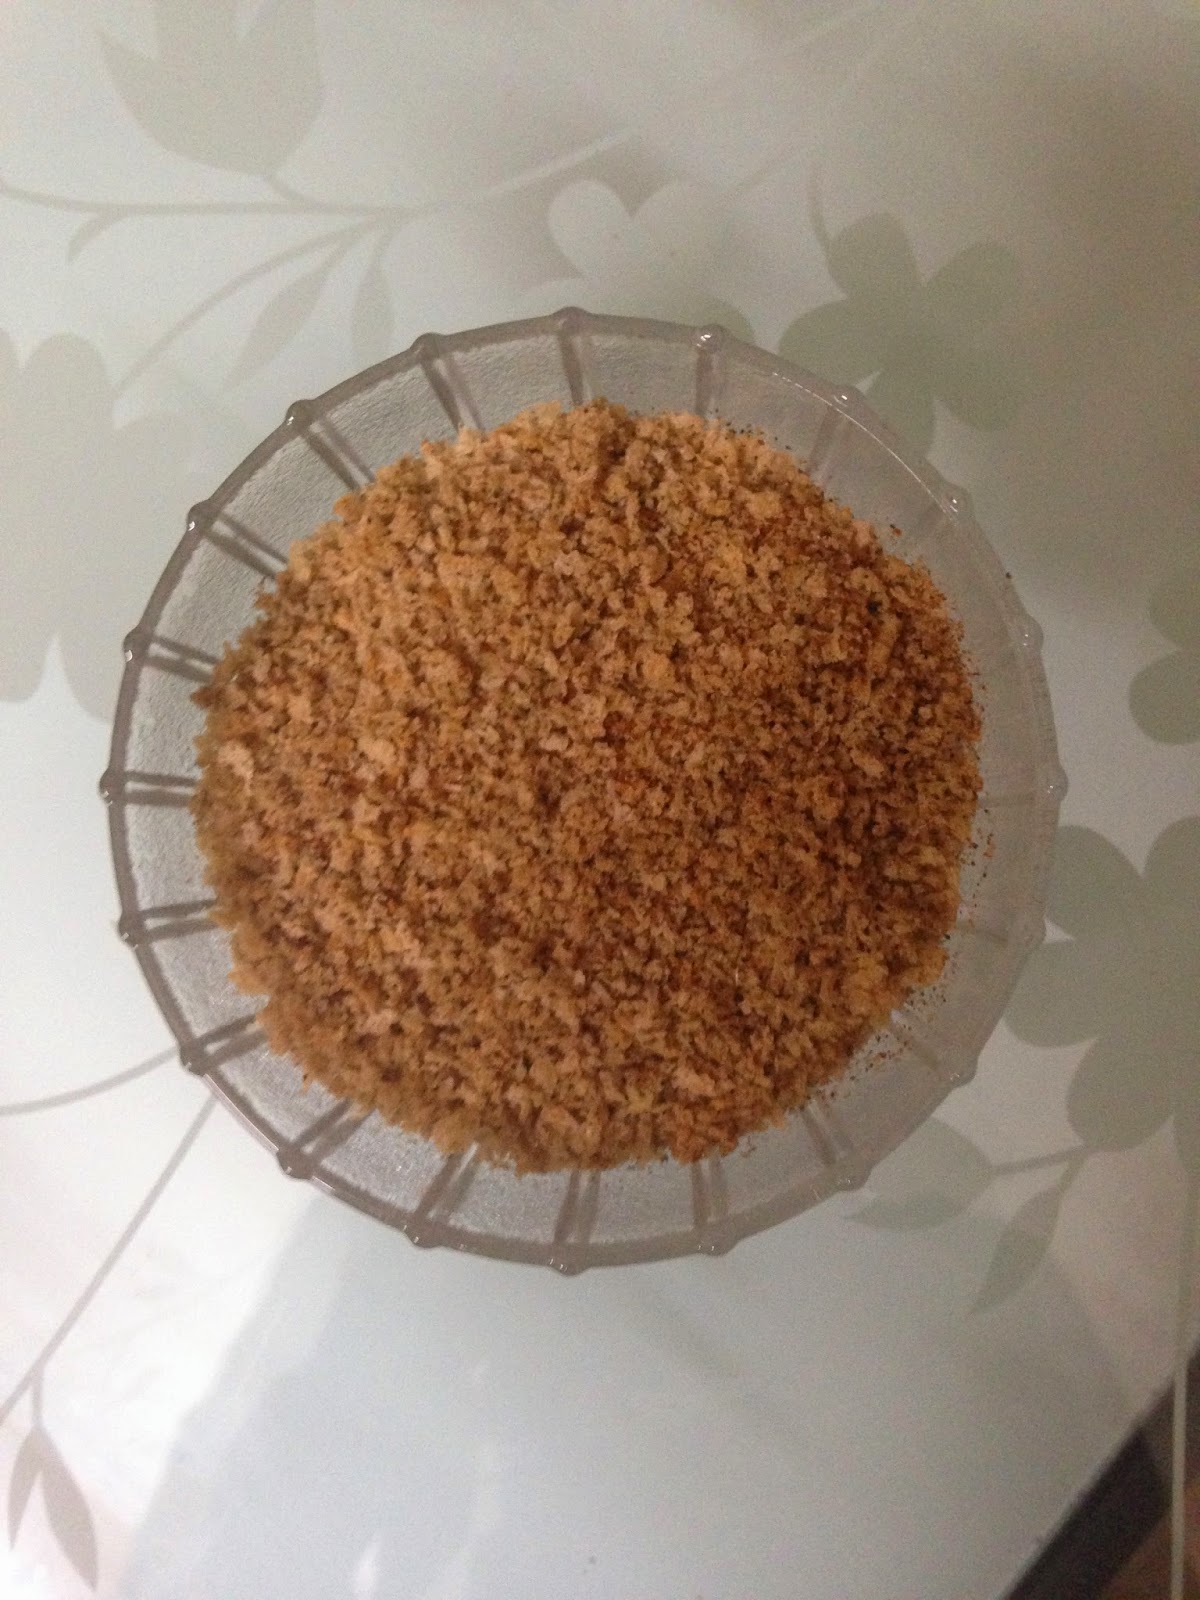
Bread Crumbs Recipe

Homemade Bread Crumbs


Time to Prepare : 10 Mins
Quantity : 6-8 bread slices  
Uses :  For cutlets,Kebabs etc.


When it comes to packaged food, I prefer preparing it myself at home.
Here is an easy recipe to prepare bread crumbs at home.
If you have a popup toaster, prepare bread toasts that are evenly baked all over.
Let them cool.
Make rough pieces of baked bread, grind it in food processor/Grinder and there you go.

OR

You can also bake breads in Oven -
Preheat oven at 180 deg C for 8 mins.
Place breads in baking tray and bake 5-6 mins or until they dry up.
Let them cool.
Break baked breads into pieces and grind them.

OR

You can use Griddle for baking breads.
Simmer down heat and place bread pieces onto griddle.
Turn the pieces over until they are evenly baked.
Once baked, let them cool and then Grind using grinder or food processor.


After cooling the crumbs, store it in airtight container , keep it  in refrigerator.

 If you want to try some different mouth watering recipes using bread crumbs, 
 follow Tarla Dalal Recipes.


Thursday, April 17, 2014

Glimpse of my previous Projects :

Hi, Posting some projects I made earlier.

Nail Paint Organizer:  

  • Velcro tape used to open and fold 
  •  Safe to carry while travelling.


Stone Paintings :


A fabric Bag :


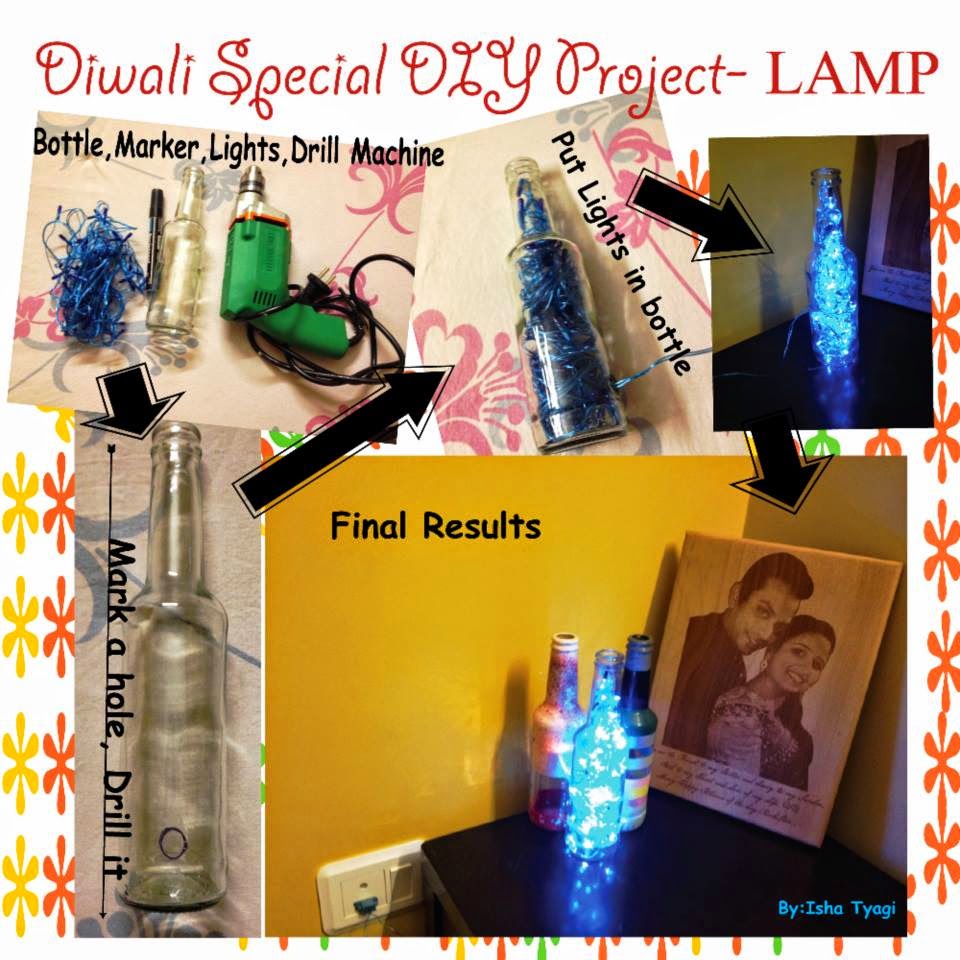
Bottle Lamp :                                                                                                               

Revived bathroom Mirror : 


Fabric Organizer /Jewelry Organizer - 


 Hair Accessory:


Recycled Seat :                                                                                                         


Mobile Case :                                                                                                              


Clutch Bag - Recycled                                                              


Thursday, April 10, 2014

Embroidery Project - By Priyanka

An Embroidered Teddy

Hey friends,

Hope you all doing great..
Today I'm going to share my first embroidery project. Actually, its second, but I never completed the first one.. So it’s my first completed embroidery project ;)
I'm a huge fan of hand embroidery since don't know when. But never attempted anything till last week. :P
Last weekend my grand MIL found a cute teddy bear traced on a sheet in her old stuff [she is a lover of embroidery n sewing btw :)]
So I made this cutie from that..


...tada :)


Skills required: Beginner

How did I make it:

First, I punched small holes along the design on the tracing paper.
Then kept it on a cotton fabric firmly and run a pencil mark along the design to trace it on to the fabric.
After that using cotton embroidery threads, I started by Back stitch to make an outline on the design.
To fill the design, I used Satin stitch, Running stitch, Long n Short stitch and a bit of Lattice work.

I may use this embroidered patch for a baby's bib (as suggested by my granny).
Where else it can be used??? Your Suggestions are most welcome. :)
Did you like my effort?? Have your say below!!


See you next time!!
Till then..Happy crafting!! :) 


Go Green - Fabric Bowl Covers


No more plastic wraps!!

Today we will share how to make fabric covers for bowls – Oh yes, these are reversible so you don’t get tired looking at same fabric again and again ;)


Skills : Beginner
Time : 20 Minutes 

Requirements:
·        Newspaper or some plain paper to draft a pattern. – We don’t want to mess up with fabrics, right??
·        Two Coordinating fabrics
·        Elastic band

Steps:
Place your bowl onto newspaper like this:

  • Mark edges.
  • Fold in half.
  • Again fold in half.
  • Mark 2 inches more to your pattern.


Cut paper. It would come up like this.

Place onto fabric, mark and cut as pattern.

Repeat for another fabric.
With right sides of fabrics facing each other, sew them together with half inch seam and leaving some point to reverse the fabrics.

Pull the right side of fabric out.


Again sew leaving  ½ inch or 1 inch margin from outside (depends on the width of elastic band you use)


Push your elastic from one end  and pull out from other end.


Join elastic.
Sew open part of fabric.

Ta Da!!
Cover your bowls.

This pattern also fits on 2-3 inch bigger or smaller bowls too.


Wednesday, April 9, 2014

Reversible Apron

Basic Apron


This weekend I was busy sewing covers and apron. I am sharing the instructions for Basic reversible Apron.

Final Product :


Skills required: beginner
Time required: 30 - 40 mins

Fabric Required:
·         Two 32” L and 23” W coordinating fabrics.
·         One 10” * 10” pocket fabric.
·         For neck string, 21” L and 3” W strip.
·         For Waist String, 40” L and 3” W strip.

·         Two wide bands of 30” L and 5” W (optional).


Fold fabric in half (Lengthwise).Cut along the Red mark.


Time to sew neck and waist straps:
For neck string, cut 21” L and 3” W strip.
For Waist String, cut 40” L and 3” W strip.

Sew both straps as demonstrated below:


  • ·         Fold fabric from both sides to mid.
  • ·         ­Fold Again from mid.
  • ·         Sew along open edge.


Result is:

Attach pocket on front fabric and sew using simple stitch or zig zag stitch.


To create ruffles, sew two wide bands together with right side of fabric on top (wrong sides facing each other.)
Pull one thread/string from one side slowly and fabric will start gathering like frill.
(Note: Make sure you use wide stitch for sewing band. This way pulling thread would be much easier.)


With right sides facing each other, and ruffles inside it, sew them together


Time to attach neck straps and waist ties - sew it on one part of fabric.

Now, sew by placing both apron fabrics’ right sides facing each other, leaving it 1" - 2" open from any side.

Pull the right side of fabric out.
Sew remaining part to close it.

Here's self made Reversible apron. (Pictures are a bit blur... Husband was asleep, so I clicked them myself.
)


                           Hope you liked it.
Will be back soon with more stuff.  :)