Wednesday, December 31, 2014

NEW YEAR GIFT


A VERY HAPPY NEW YEAR TO ALL.. 


Hello Friends,

I wish you all a very happy New Year. May this year brings lot of positivity, good health and happiness for us.

While everybody was out for celebrations on New Year's eve , I was enjoying movies at home and crocheting.

This is what I made as a gift for my sis. Hope she will like it.


Also,
here is a little bird I crocheted a while ago.

and it is resting well onto my Money Plant. 


Will be back with more stuff.

Tuesday, December 23, 2014

Amigurumi Projects


Crochet Turtle


The second project I made is a turtle.

I followed tutorials from crocheteverafter for Turtle Amigurumi and here is the result.


As you can notice, It is the same green colored yarn that I used for making Christmas tree. Yellow yarn was also some leftover in my yarn stock.
My Husband gifted me these googly eyes pack once, and I wanted to make good use of it. I love them onto this turtle. :)

More I am making these projects, More I am falling in love with crochet. Its fun to sit in couch and crocheting whole day when you can not go out in chilly winters.

Will be back with some more fun projects.

Amigurumi Projects


Crochet Elephant


Hello friends,

I am pretty excited to share my two amigurumi projects that I made last weekend.

My First amigurumi Project is the Little Bigfoot Elephant . I followed tutorials from Amigurumitogo
My project turned out fine ( not as perfect as the tutorial ) . But I am satisfied.


Materials needed : Crochet Hook , Yarn, Pair of Scissors, Felt ( for mouth ) , Eyes ( buttons of felt can also be used ).
I used styrofoam balls for the filling instead of yarn scrap or fiber.

Lovely, Isn't it ?  :)

Get Ready for my next amigurumi. :)

Monday, December 22, 2014

Christmas Special

 Christmas Tree-  Crochet


Hey Friends,
Here is one crochet project I made for this Christmas.
I was thinking of making one with yarn.Luckily , I found this Green colored yarn in my stock.Then I was all set to make one.

I tried to follow lot of tutorials available on internet, but I could not make one as I wanted it to be. So , I tried simple chain stitch to create leaves and It was lot easier than I thought.

Used a paper cone base for leaves to rest in place.And a white Lace to wrap onto the tree.


Added a colored pom pom onto its top.

For Decoration, I used anchor thread and crochet hook to make miniatures.


Well, as I am a beginner, and It was my first time , so don't mind the imperfections.
I used some colored beads to make it look more cute.
And there we go.

And Guess what !! I am getting addicted to crochet. I already made two more projects .
See my Amigurumi  Projects for more. :)


DIY B'day Card

DIY Greeting Cards


Hey Friends,

Here is one post I wanted to share about home made birthday cards and gifts.
If you remember, I already posted one for how to make gift boxes out of unused boxes.
Here is similar kind of box I made by gluing Hallmark gold print paper onto a cookie box and pasting some fabric flowers onto it.


and, here is the blue card inside box.
This card is a hanging card, folded into the box and placed with flowers (for decoration ). You May add chocolates or some other small gifts with the card, as per your liking.

Here is the card, unfolded -
For Another card,
I followed a video to make it (also added my imagination into it). It turned out really cute.

For any card , you need simple stuff like :
Colored Pens
Scissors
Zig Zag Scissors
Colored papers ( Plain or Printed )
A pinch of thoughts  ;)
Lot of videos are available on internet for card making. You may simply follow them and make some fun stuff.
( Hanging card was my own thought that I come up with.)

Here is another card.


Pictures are not that good. I was impatient and clicked all of them in night  :p

Hope, You got the idea of making lot of fun cards at home for your loved ones.

Bye for now. :)


Monday, November 3, 2014

Old wooden table makeover –To a Coffee Table


From this -

To this -


Hello Friends,


Here is a tutorial to revamp your useless furniture .Here I experimented using some leftover vinyl sheet as top of table.

Required:
  • ·         Vinyl Sheet  or Wallpaper
  • ·         Adhesive
  • ·         Colored Drawing Pins
  • ·         Paint


I cleaned the surface of table first and once it was dry, I measured the surface and cut the sheet accordingly. As it was a leftover piece of sheet, it did not provide full coverage to the table ,so I used 2 pieces for top.


Applied adhesive on full surface and placed the sheet carefully onto it. It needs to be pressed for atleast 45 minutes so that sheet does not come off and sticks to the table properly. Then I pinned the table using drawing pins.

For sides of table –I colored the base with off white paint and after it dried, I cut some square pieces of sheet and stick them onto table in a pattern as shown in image.


Here is the result (and yes, I did not spend a buck on it... used leftover paint and sheet. :) )

Friday, October 17, 2014


Tea light holder / DIY Lamp


Hello Friends,

Here is one more Diwali special DIY project.

Supplies: Empty Juice or soda cans (washed and dried), a safety pin, pliers, scissors or cutter.


Procedure:


  • Draw any pattern onto soda can using marker.
  • Start punching using safety pin or some other sharp pin (Soda can is very light and can be easily punched using all pin /safety pin).

I had created a leaf pattern and a dragon pattern(on husband's suggestion J ) .


Once all punching is done, paint the cans (Two or Three coats will work well).

  • Some holes will be blocked by paint, so once it dries off, punch in blocked holes again.
  • Now using scissors or cutter, cut a rectangle behind the can so that you can put tea light into it.


  • Press its corners with Pliers.
  • Your homemade tea light holder/Lamp is ready.


Hope you liked it.
Will be back with more.. :)


Tuesday, October 14, 2014

DIY Gift box / Organizer


Gift Box / Organizer


Hey Friends,
Festival season has started and we are ready to distribute gifts and decorate our homes, right?

So, here is an idea to reuse your old boxes and containers. These can be reused as gift box or organizers themselves.

Required: Gift wrap or Fabric, A pair of scissors, Glue stick or Craft glue.


Steps :
  • Measure box dimensions (Here I’ve used an empty Surf Excel box for demonstration).
  • Cut Paper.
  • Apply glue to paper and paste it on box carefully.

TA DA!!


Use as an organizer to declutter your stuff or you may use same as a cute gift box.
Here, I’ve used a shoe box (rectangular one) as an organizer, chips can as an organizer (used fabric to wrap this one), and Surf excel box as a gift box.

Hope you liked it. Will be back soon with more ideas.


Wednesday, September 24, 2014

Stay Healthy - Banana Oatmeal Recipe

Banana Oatmeal Recipe


Hey friends, Here’s the recipe of Banana Oatmeal that I tried and it turned out really good.


Here's the complete recipe if you want to try:


You’ll need (for one serving):

·         1/3 cup Oats (I used Saffola oats)
·         1 glass Milk
·         A banana (cut into pieces)
·         Honey
·         Dried cranberries (You can use raisins or any other dried fruit instead)
·         5-6 Almonds (cut in to two halves)

At night (for people in hurry in the morning), boil one glass of milk in a pan. Add oats and stir (You can increase the quantity of oats if you want a thicker consistency).Add almonds. Allow it to cool at room temperature. Then store it in refrigerator.

In the morning, just add banana pieces, pour 1 or 2 teaspoons of honey (according to your taste), top it with cranberries and enjoy your healthy breakfast.

I have also tried different variants of it earlier using different fruits and I love every variant especially the one using mangoes. As mangoes are off-season so I used banana.

Do try and share your feedback J
                                                                                                                                           

                                                                                                                                        - Priyanka


Friday, May 23, 2014

Kiwi Smoothie


Hey Friends,

Here is an easy recipe for Kiwi Smoothie that I tried and liked very much. Give it a try.

Ingredients : 3 Kiwi
                    1 Banana
                    1 tsp curd
                    Little fruit Juice ( Mixed fruit juice Real/Tropicana/Any other )
                    Ice cubes
                    Honey/Sugar

Method : In a blender, blend all ingredients except Fruit Juice.

           
               In blended mixture pour some juice and Ice cubes and blend again.
                   
               Pour in tall glass.
                You may also garnish using vanilla ice cream and strawberry syrup .


               Ready to Serve!!    :)

Wednesday, April 30, 2014

Quick n Healthy – Sandwich Recipe


Hi all, here is a recipe to make your appetite go away in no time.
Usually I prepare quick meal this way when I am back from office and really hungry.

 Time required: 5-7 minutes 
Ingredients: 4 bread slices, pasta sauce/ mayonnaise, cucumber, onion, tomato,Black Olives(optional)

Method: 
Put griddle on simmer heat.
Slice cucumber, onion, tomato (thin slices).

Apply some pasta sauce/mayonnaise onto one bread slice and spread slices of cucumber over it.
Place onion slices over it and then place tomato slices. Put some black olives in.
Place other bread slice over it.
Apply little oil and cook both sides.


Cut crispy sandwich and have some juice with it. 


Will be back with more recipes. :)

Saturday, April 19, 2014

Bread Crumbs Recipe

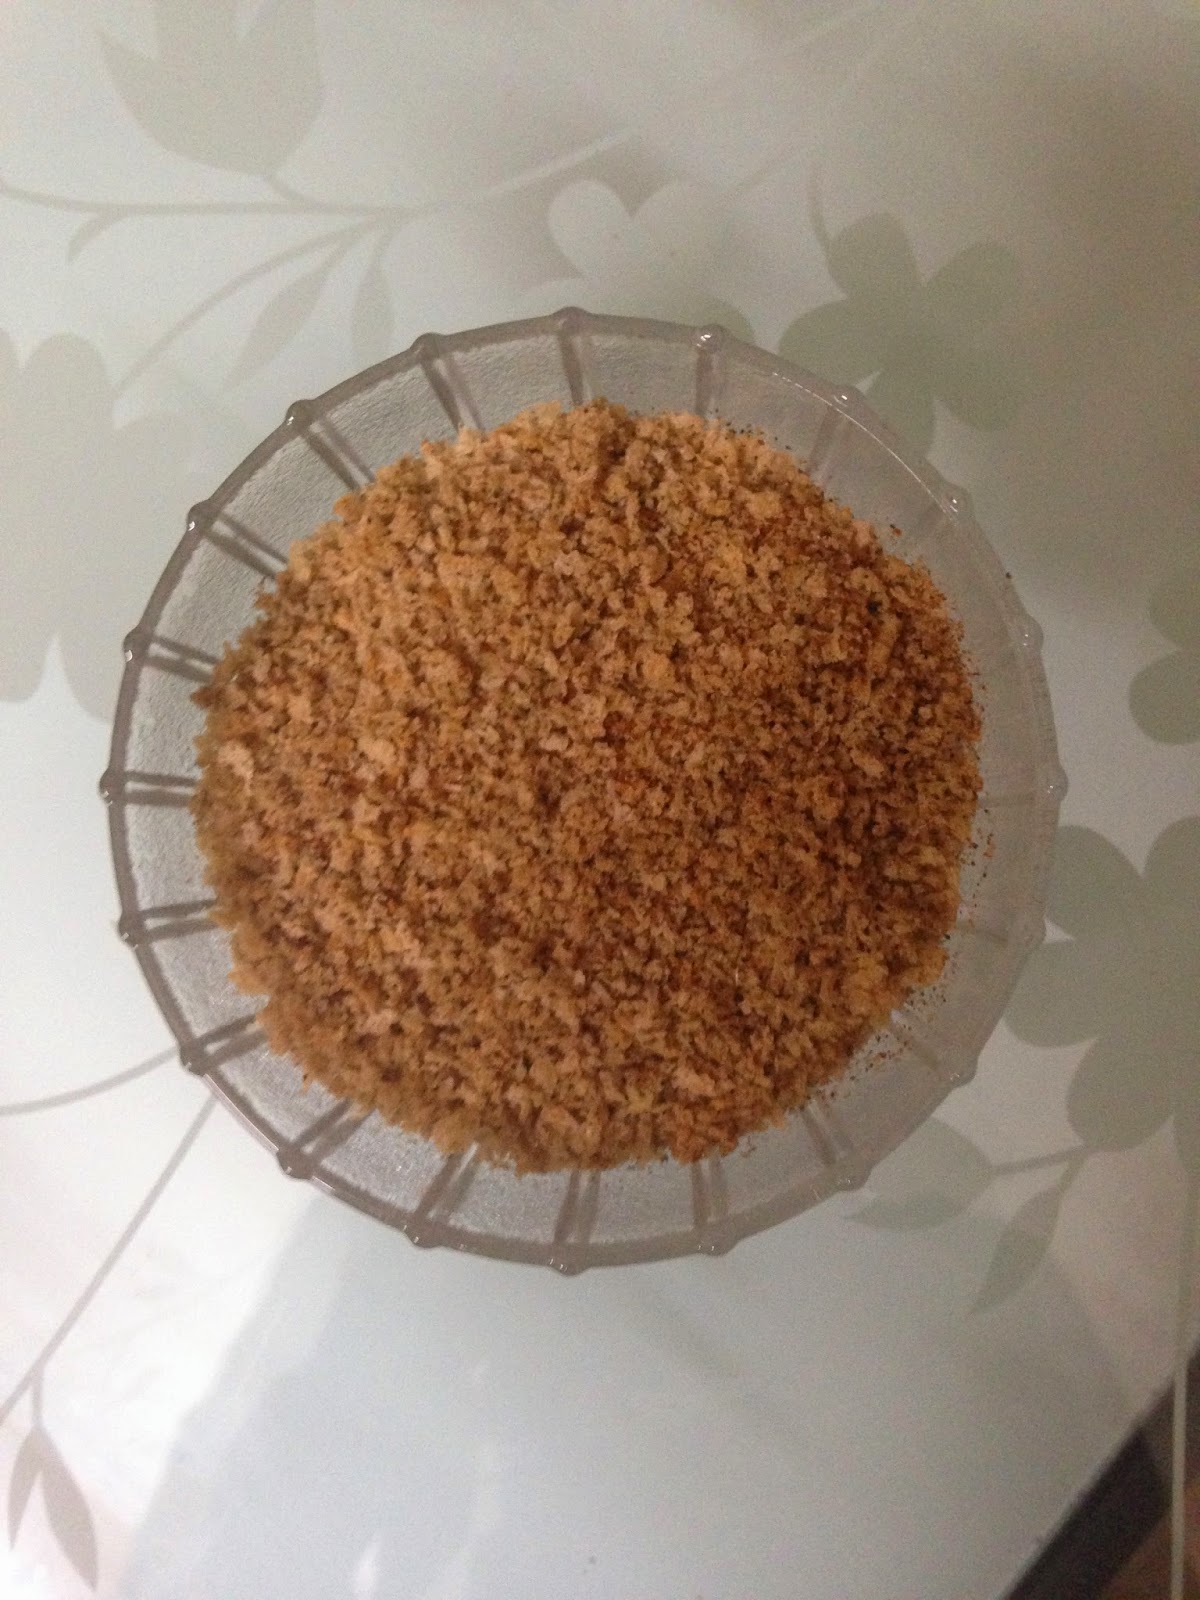
Homemade Bread Crumbs


Time to Prepare : 10 Mins
Quantity : 6-8 bread slices  
Uses :  For cutlets,Kebabs etc.


When it comes to packaged food, I prefer preparing it myself at home.
Here is an easy recipe to prepare bread crumbs at home.
If you have a popup toaster, prepare bread toasts that are evenly baked all over.
Let them cool.
Make rough pieces of baked bread, grind it in food processor/Grinder and there you go.

OR

You can also bake breads in Oven -
Preheat oven at 180 deg C for 8 mins.
Place breads in baking tray and bake 5-6 mins or until they dry up.
Let them cool.
Break baked breads into pieces and grind them.

OR

You can use Griddle for baking breads.
Simmer down heat and place bread pieces onto griddle.
Turn the pieces over until they are evenly baked.
Once baked, let them cool and then Grind using grinder or food processor.


After cooling the crumbs, store it in airtight container , keep it  in refrigerator.

 If you want to try some different mouth watering recipes using bread crumbs, 
 follow Tarla Dalal Recipes.